Setup
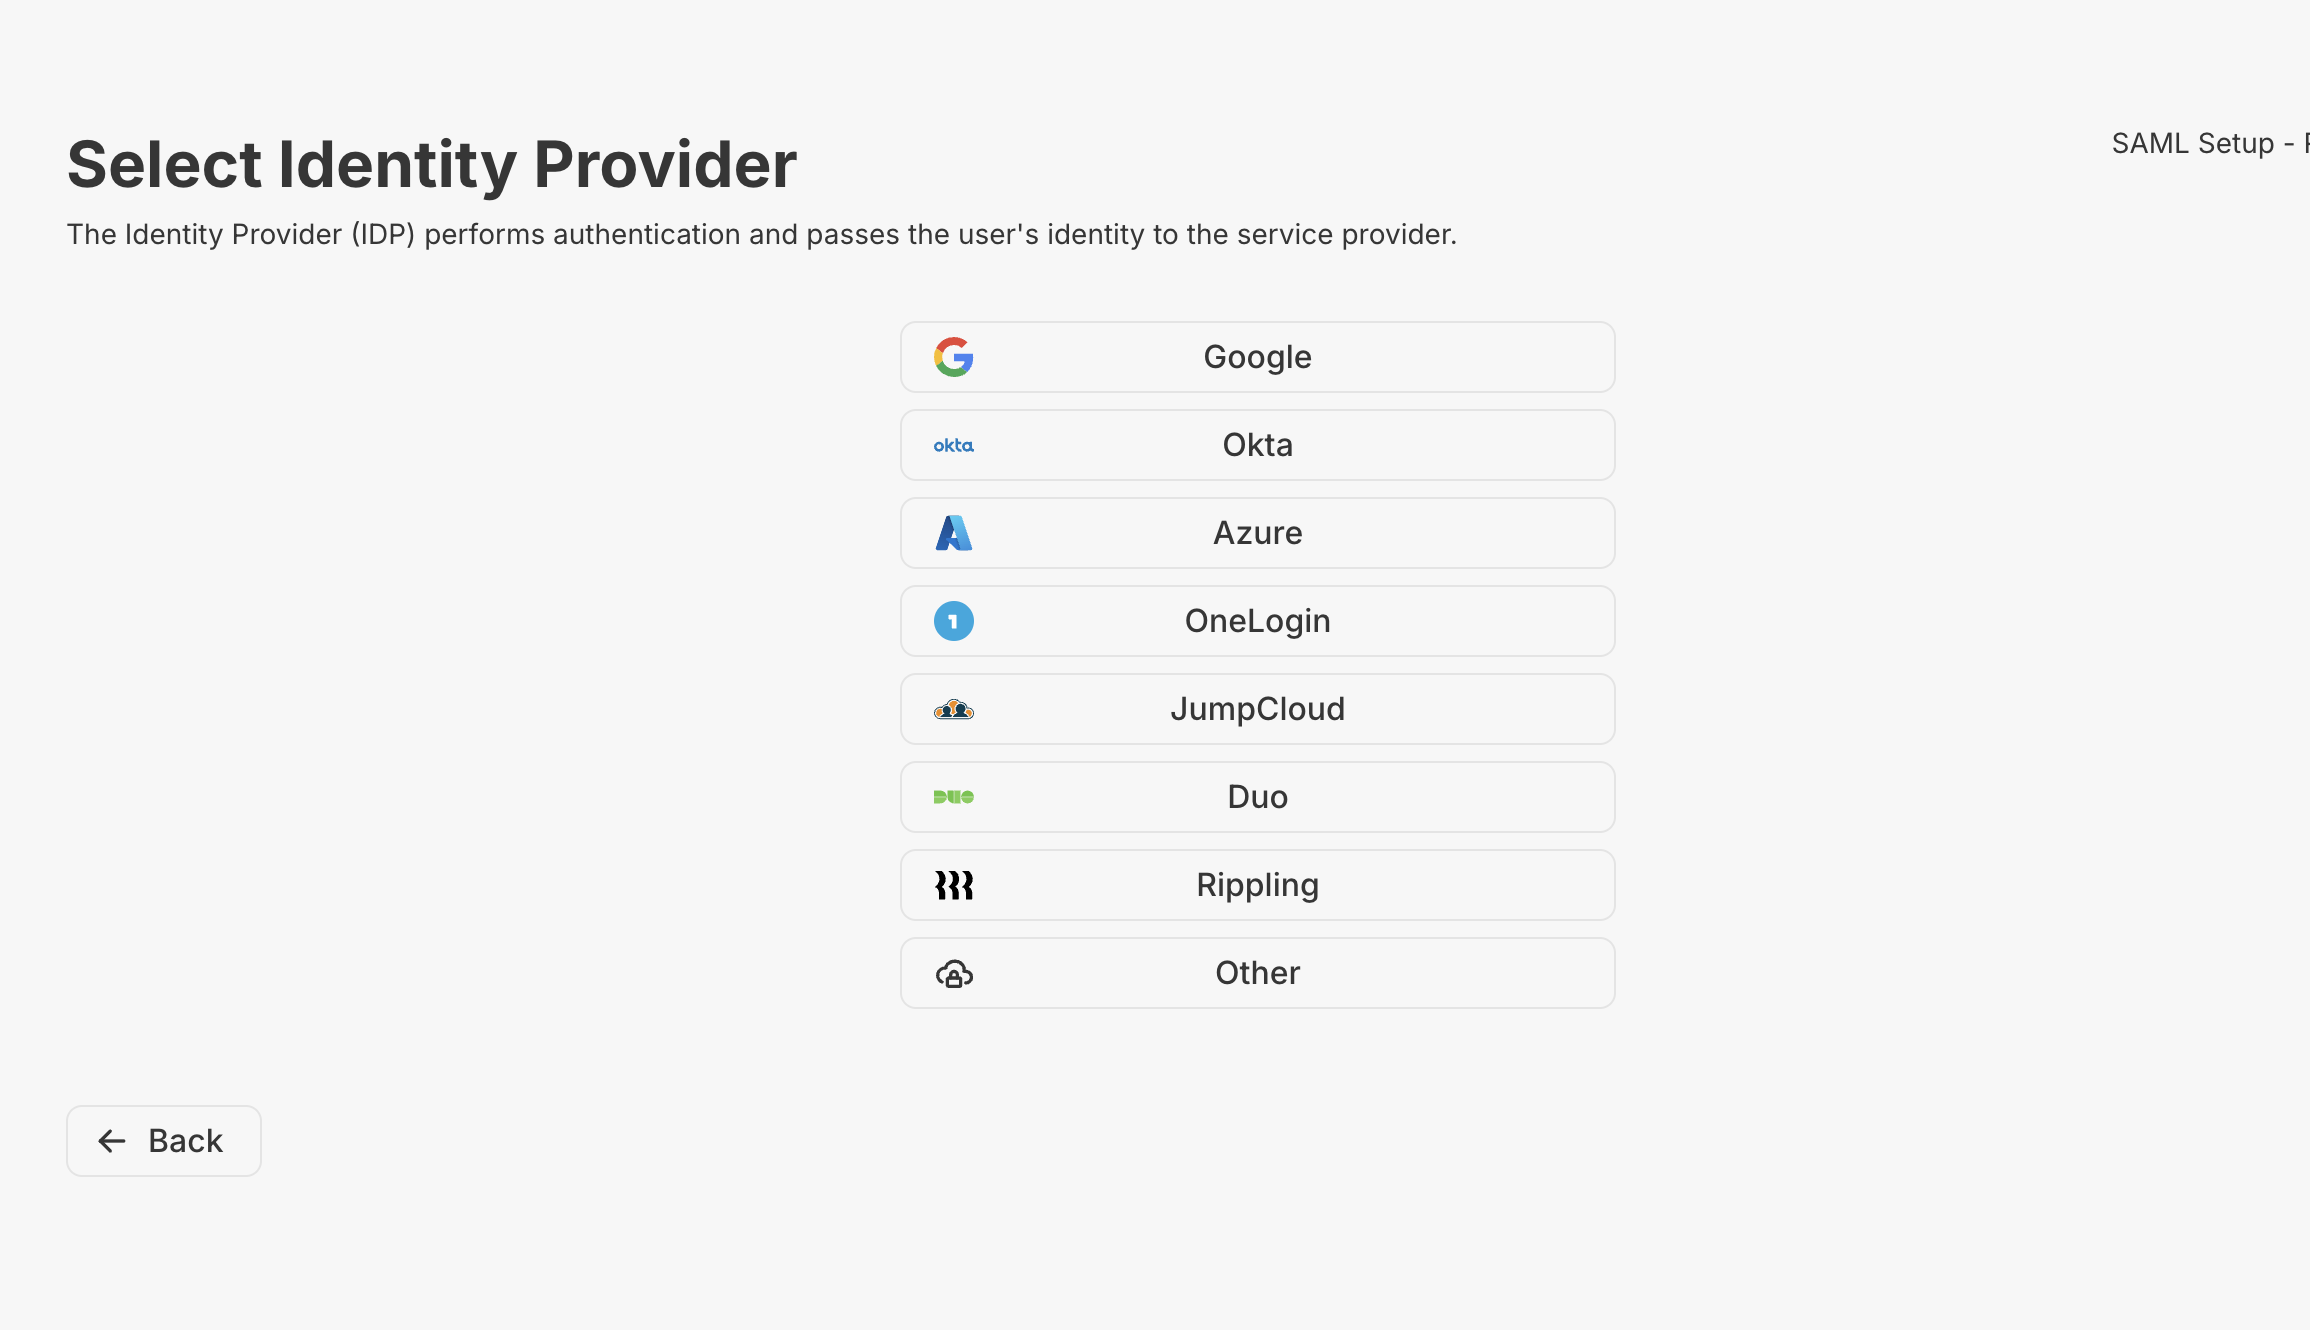
First, ask the Metriport team for a link to setup SAML/SSO for your account. We support the following Identity Providers with a step-by-step guide:- Okta
- Azure
- OneLogin
- JumpCloud
- Duo
- Rippling
- For Identity Providers not on this list you can choose “other” - we’ll guide you through a generic SAML setup guide.
- Mapping user attributes from your Identity Provider to Metriport:
- Use these fields for the Metriport side of the user attribute mapping:
emailfirst_namelast_name
- For details about the user groups/roles available at Metriport, see our documentation: User Roles
- Use these fields for the Metriport side of the user attribute mapping:
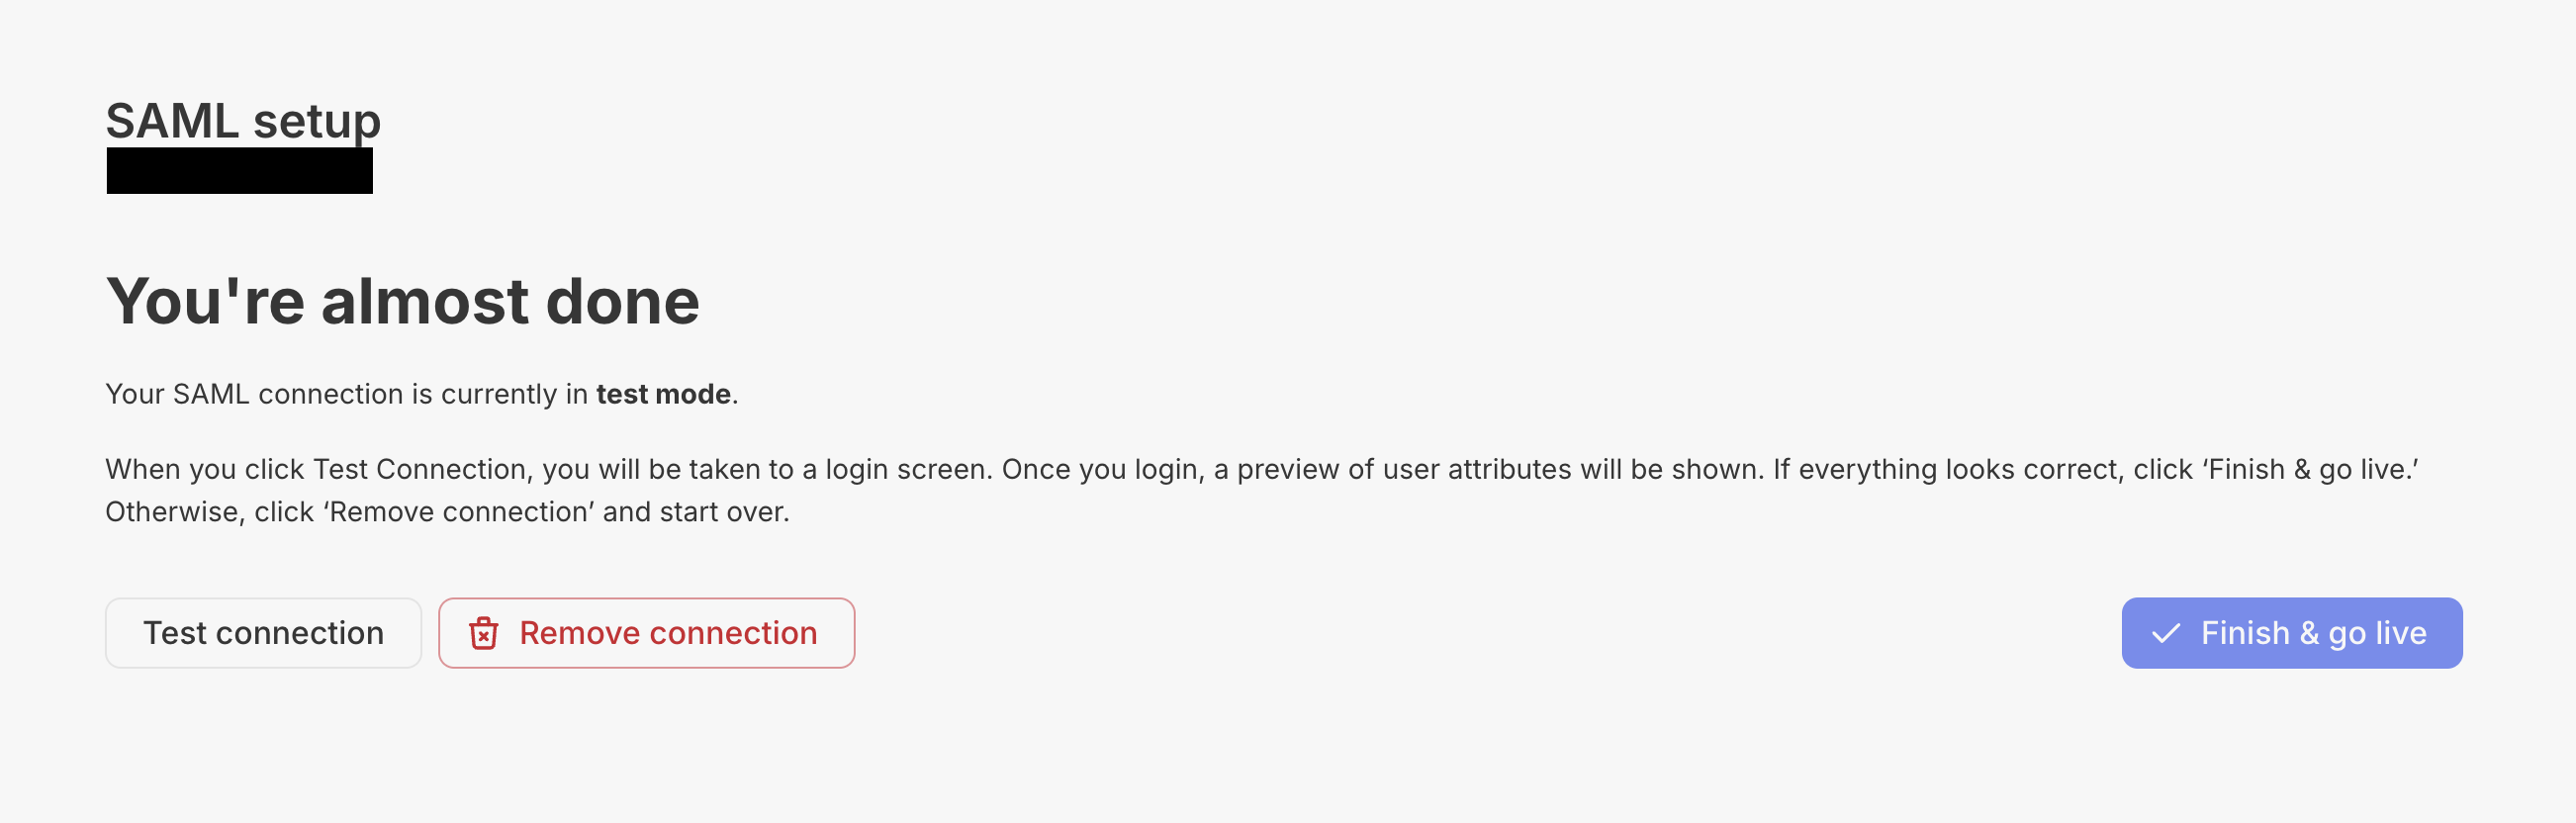
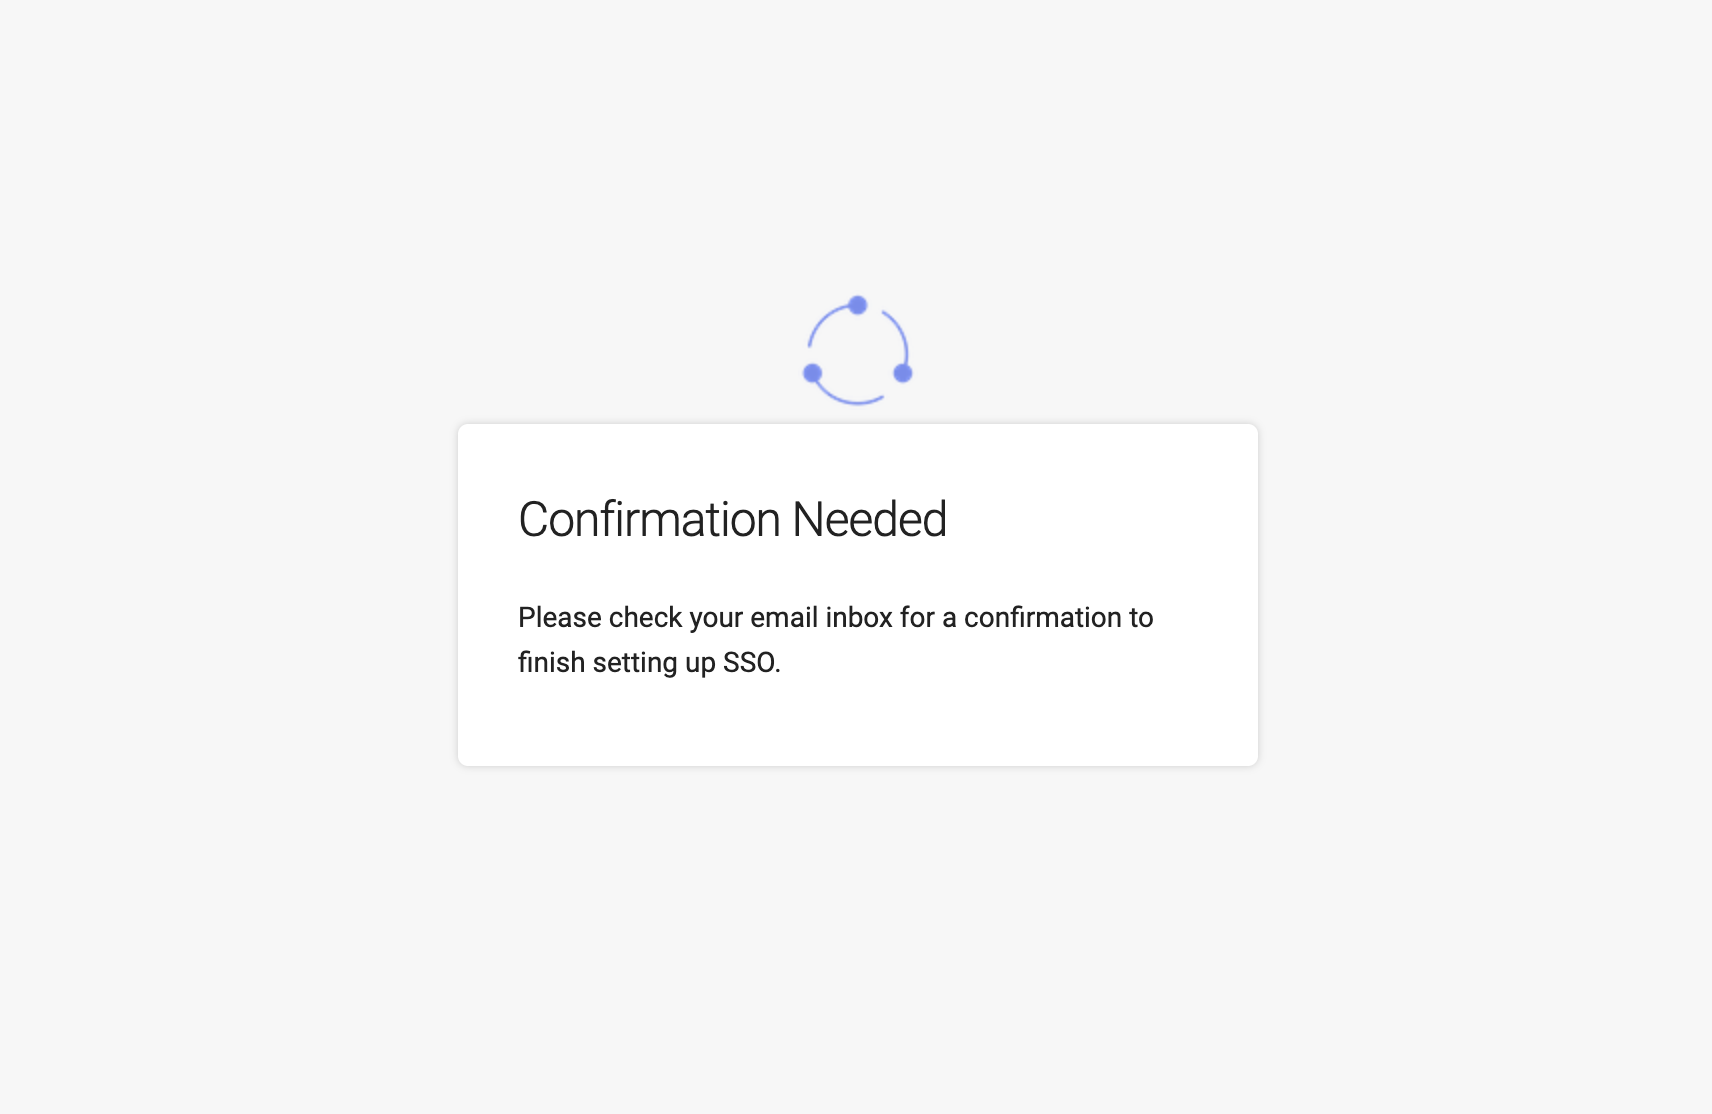
- At the end, you’ll see a “You’re almost done” page. Please be sure to test the setup before completing the process:
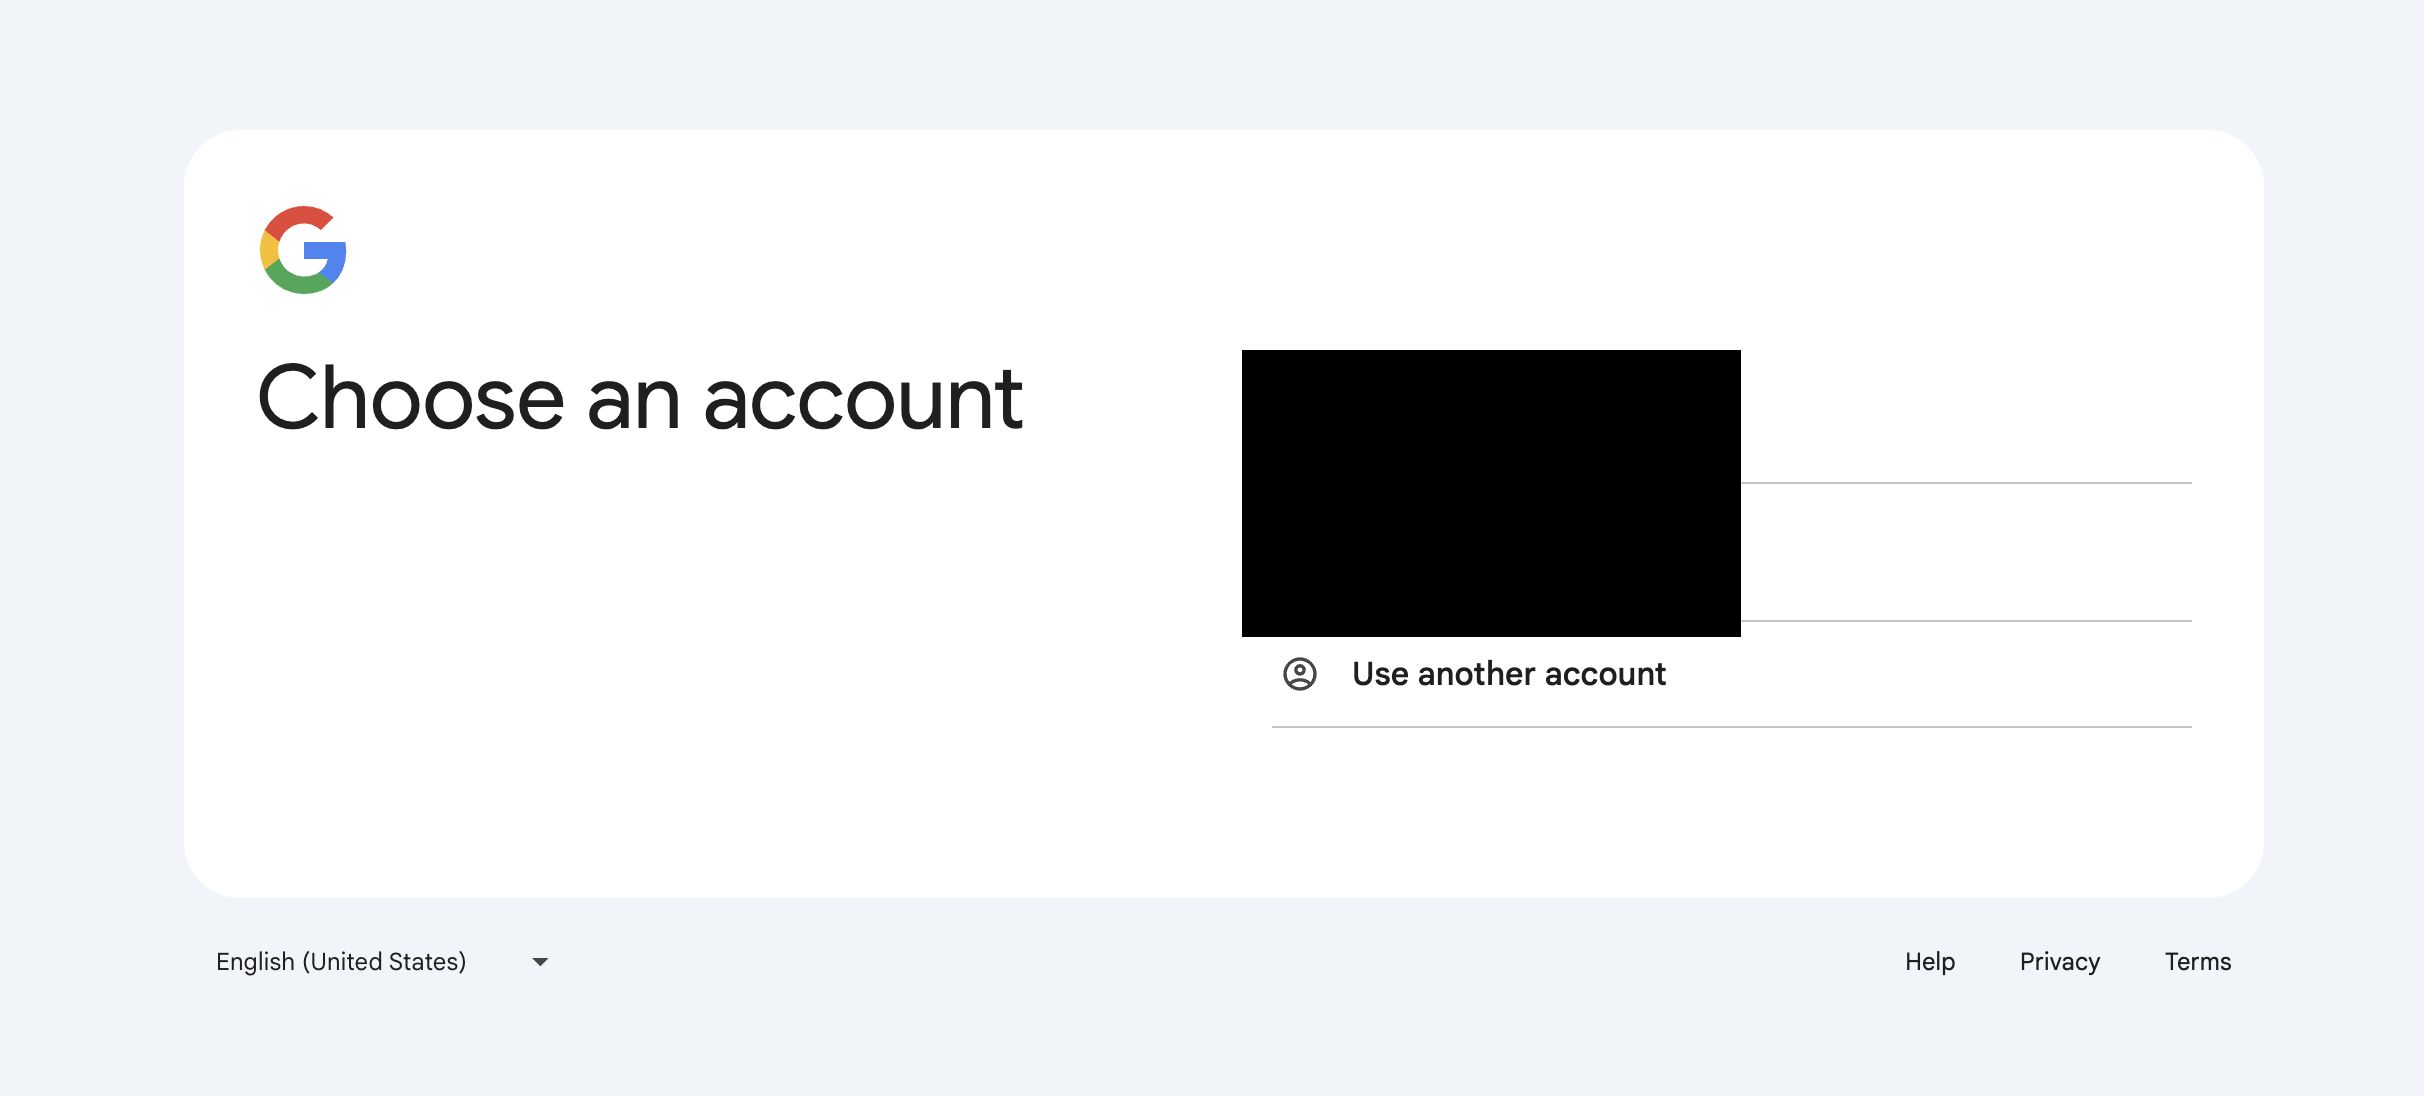
- Click on “Test connection” - if it’s successful, you should see a page with the user attributes mapping for the account you chosen on your Identity Provider.
- It might take a few minutes for the new setup to be available on your Identity Provider.
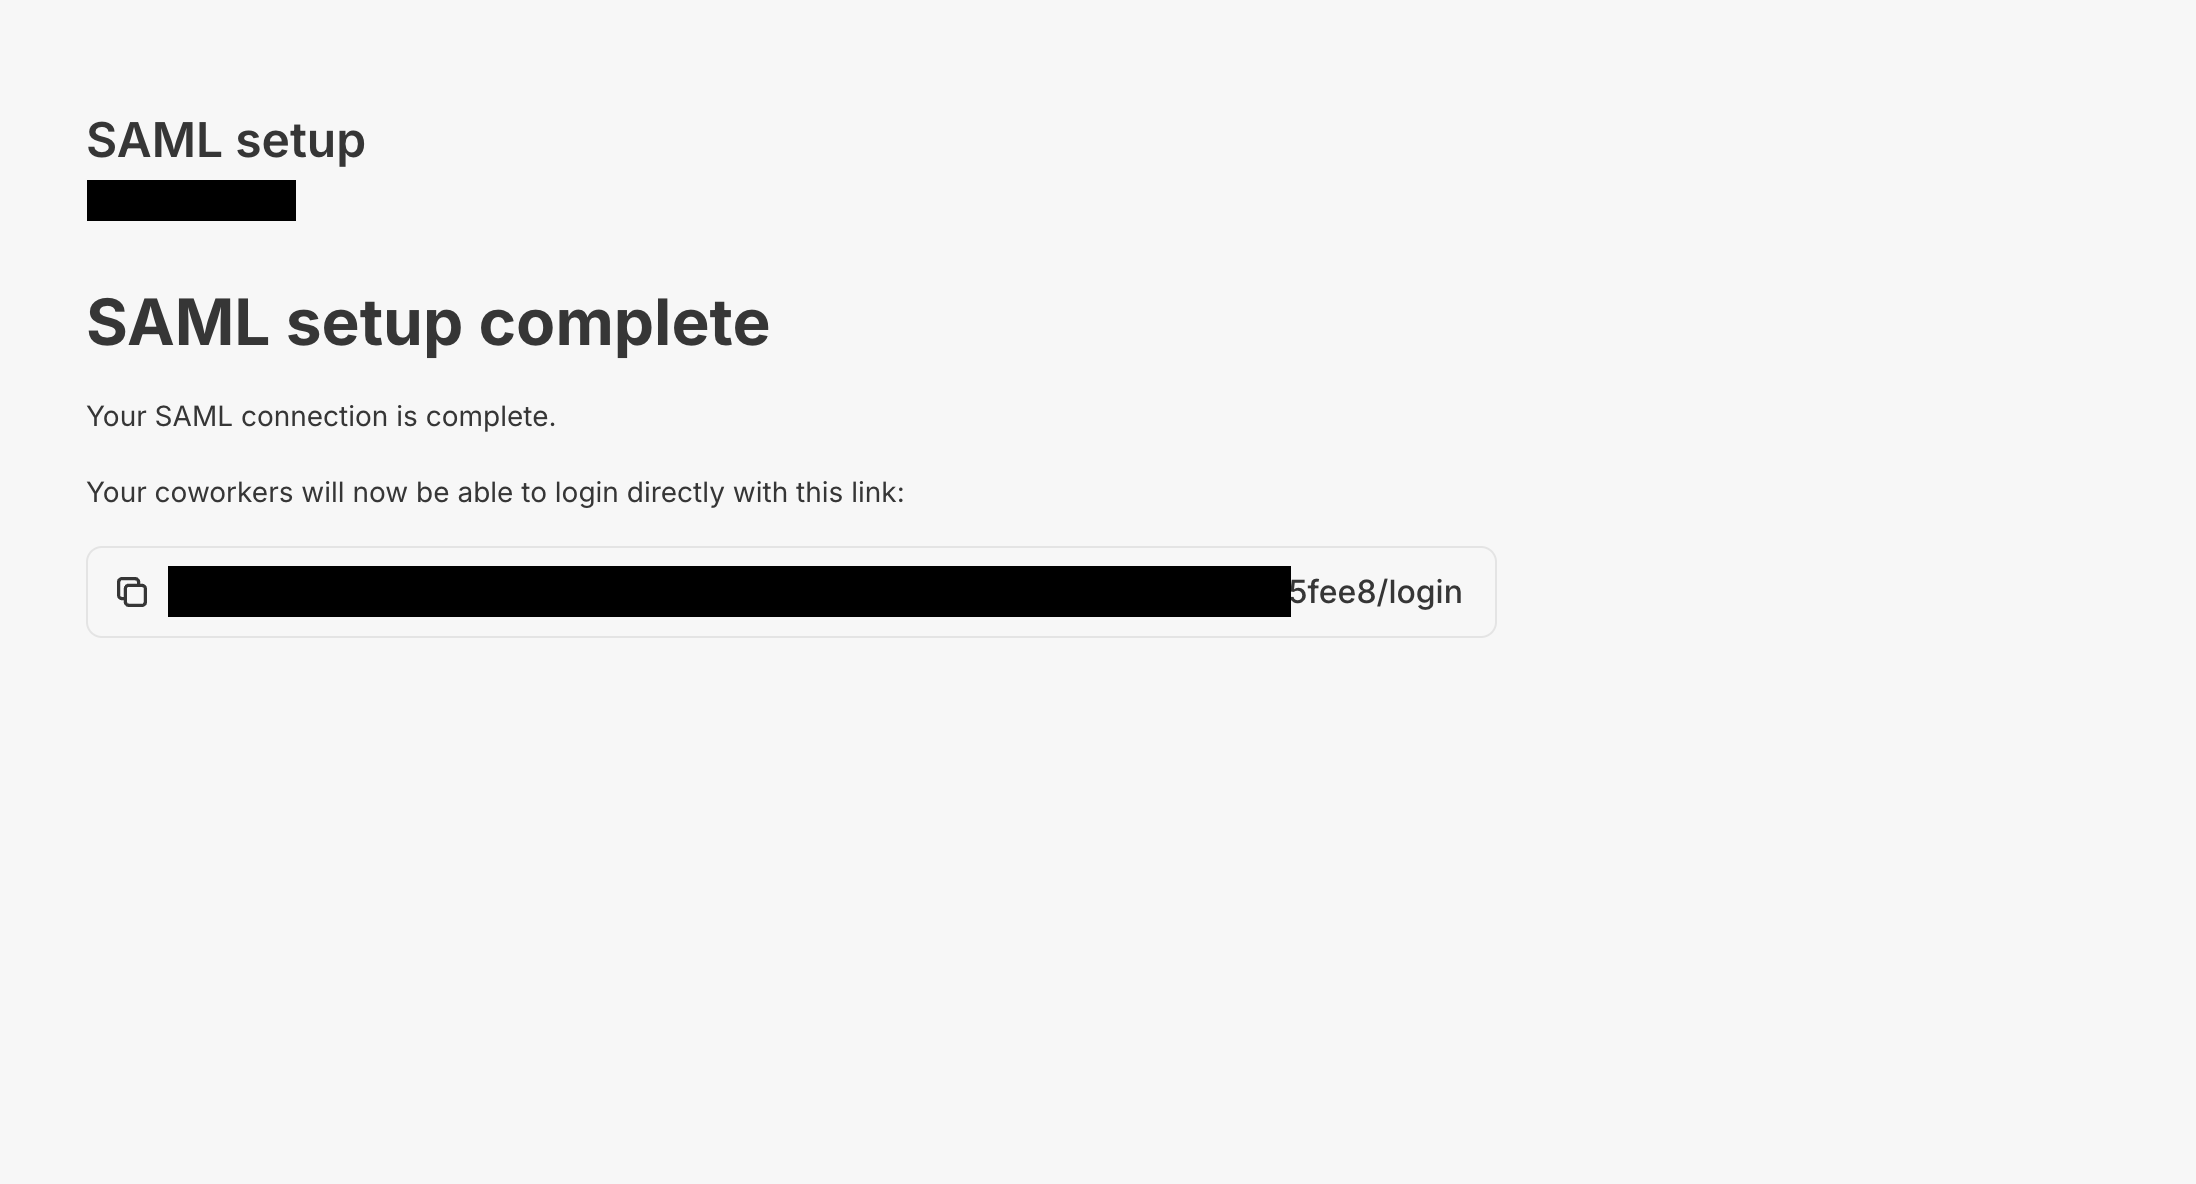
- When done (“SAML setup complete”), we’ll show you a URL that you can use to point your users directly to the account selection when signing into Metriport. This URL is only displayed once, so make sure to copy it before closing the page.
Google Example
Other Identity Providers (IDP) might have different steps,
so use the numbered steps pertaining to Google as a
reference.
Step 1
The first step is just an introduction to how to create a SAML app on Google: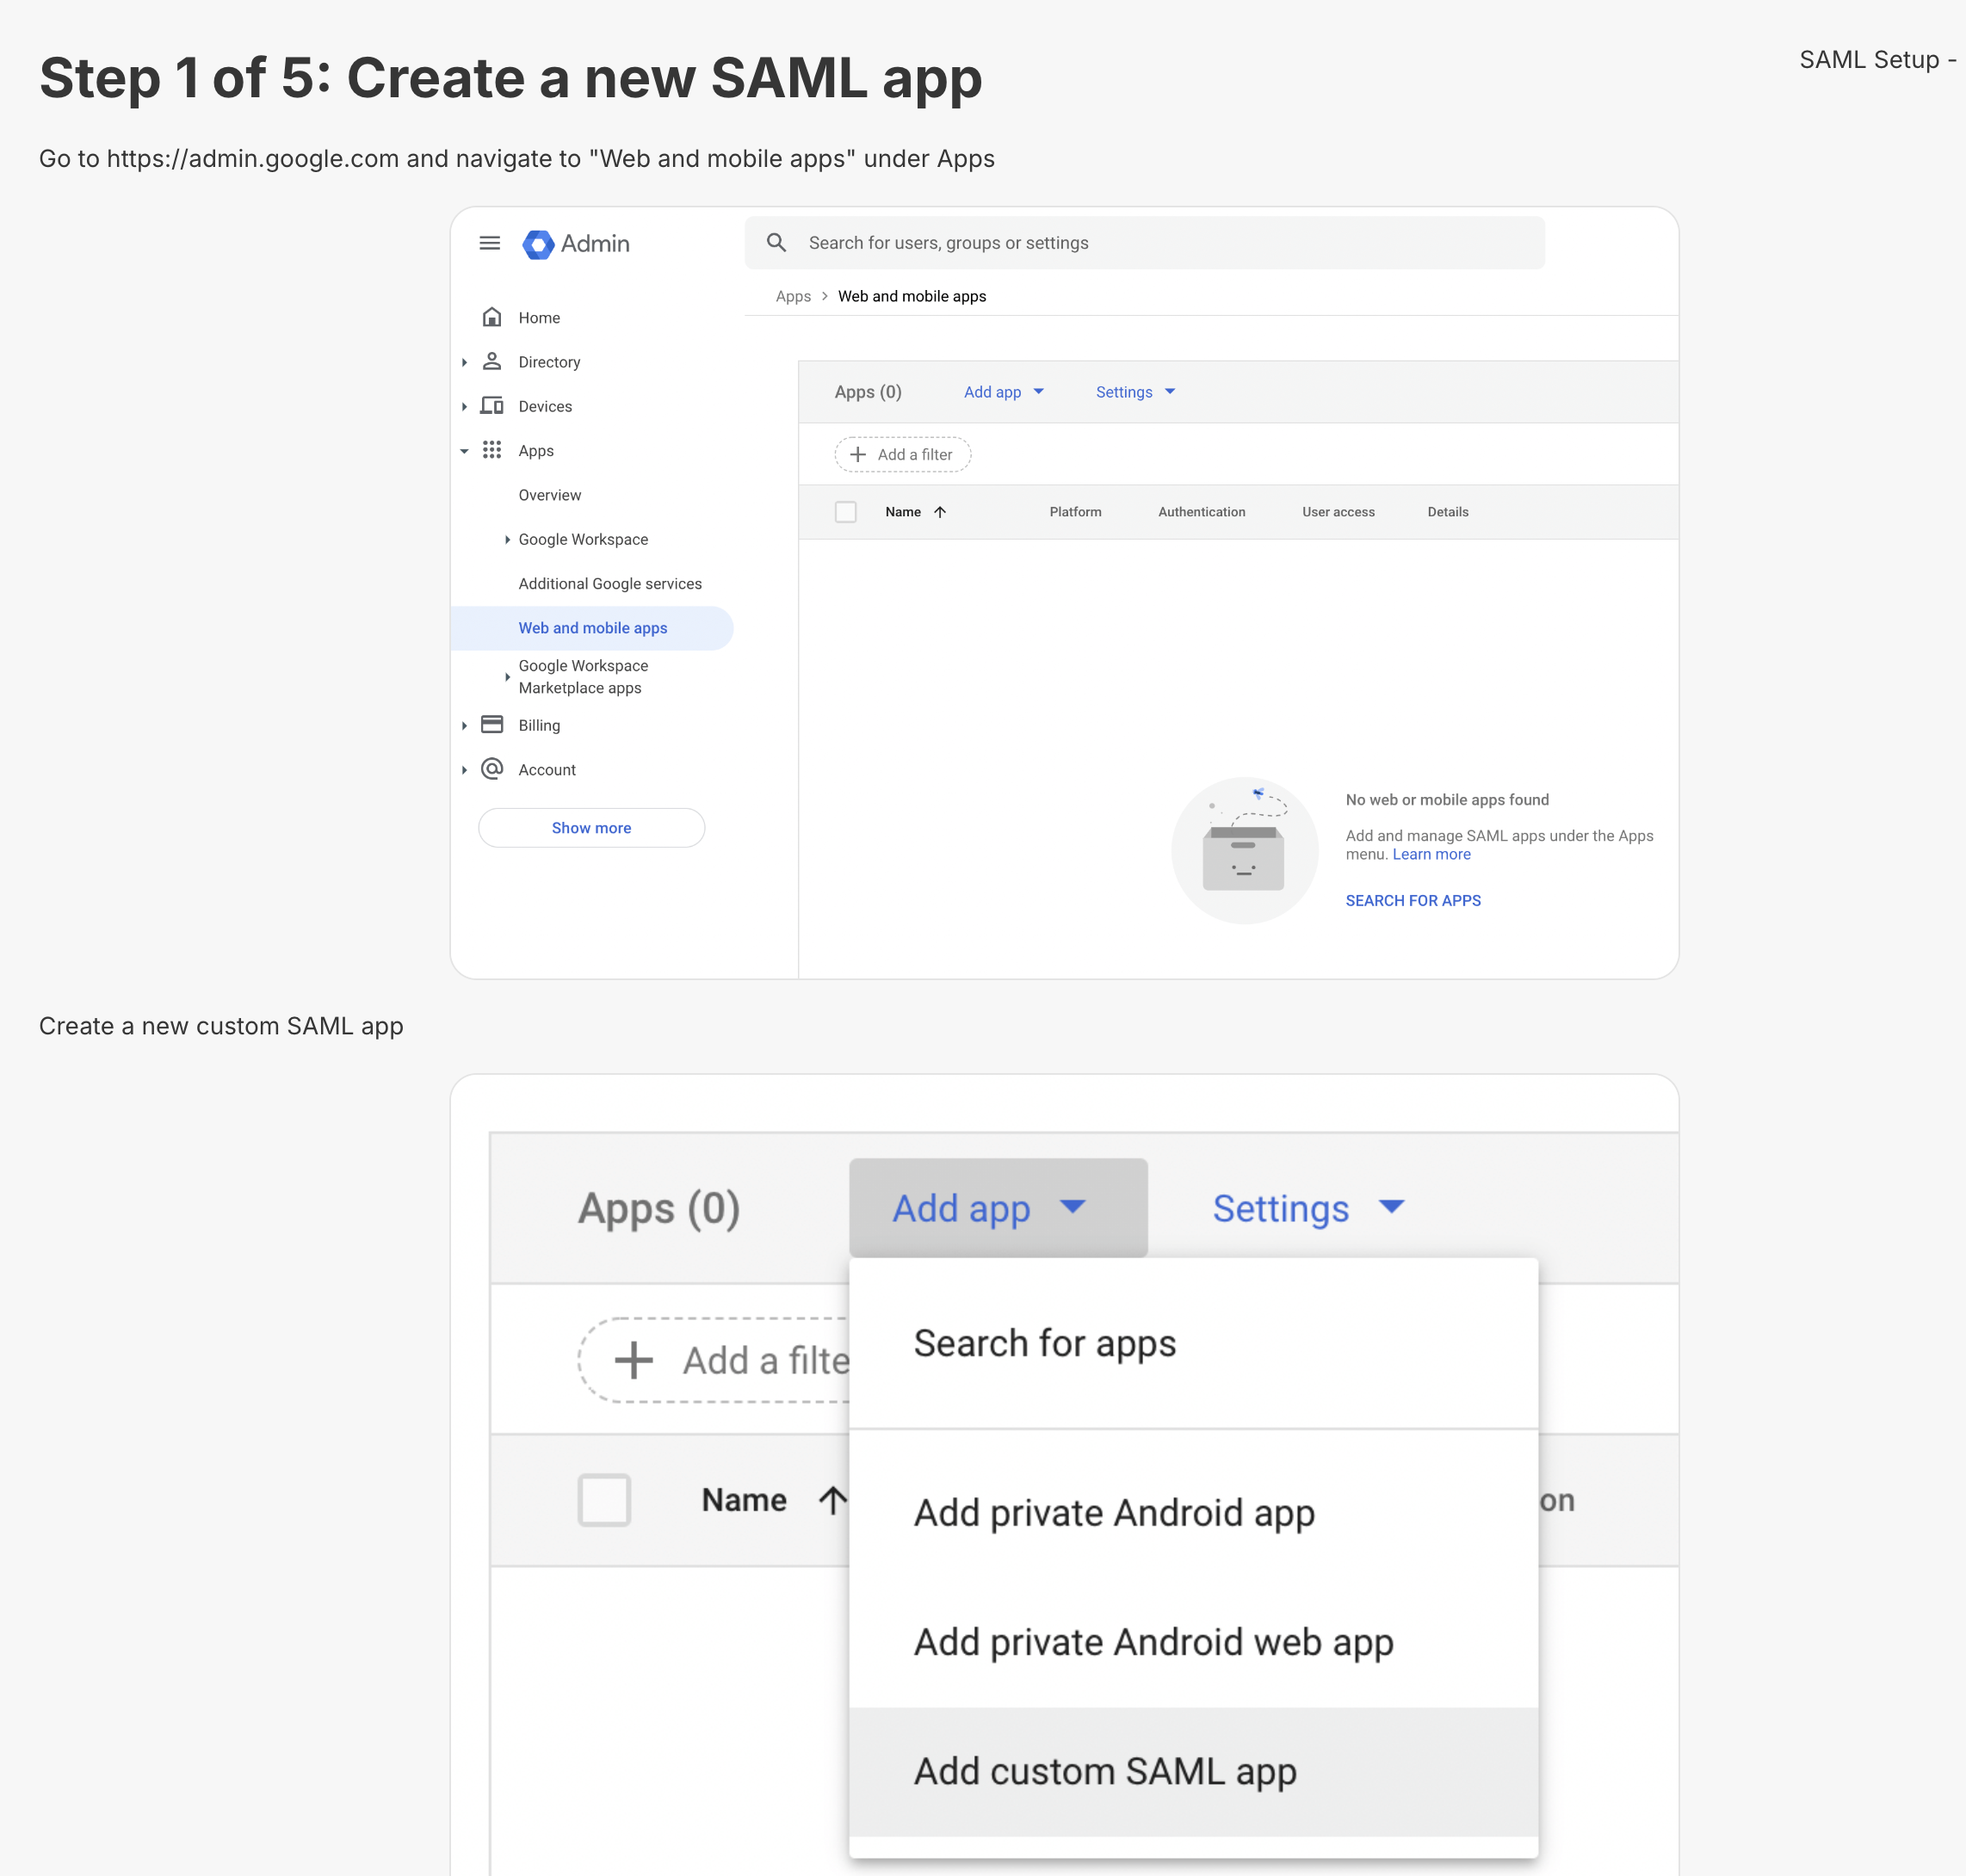
Step 2
Here you should copy info from Google into Metriport. Those are easily accessible on Google’s SAML setup.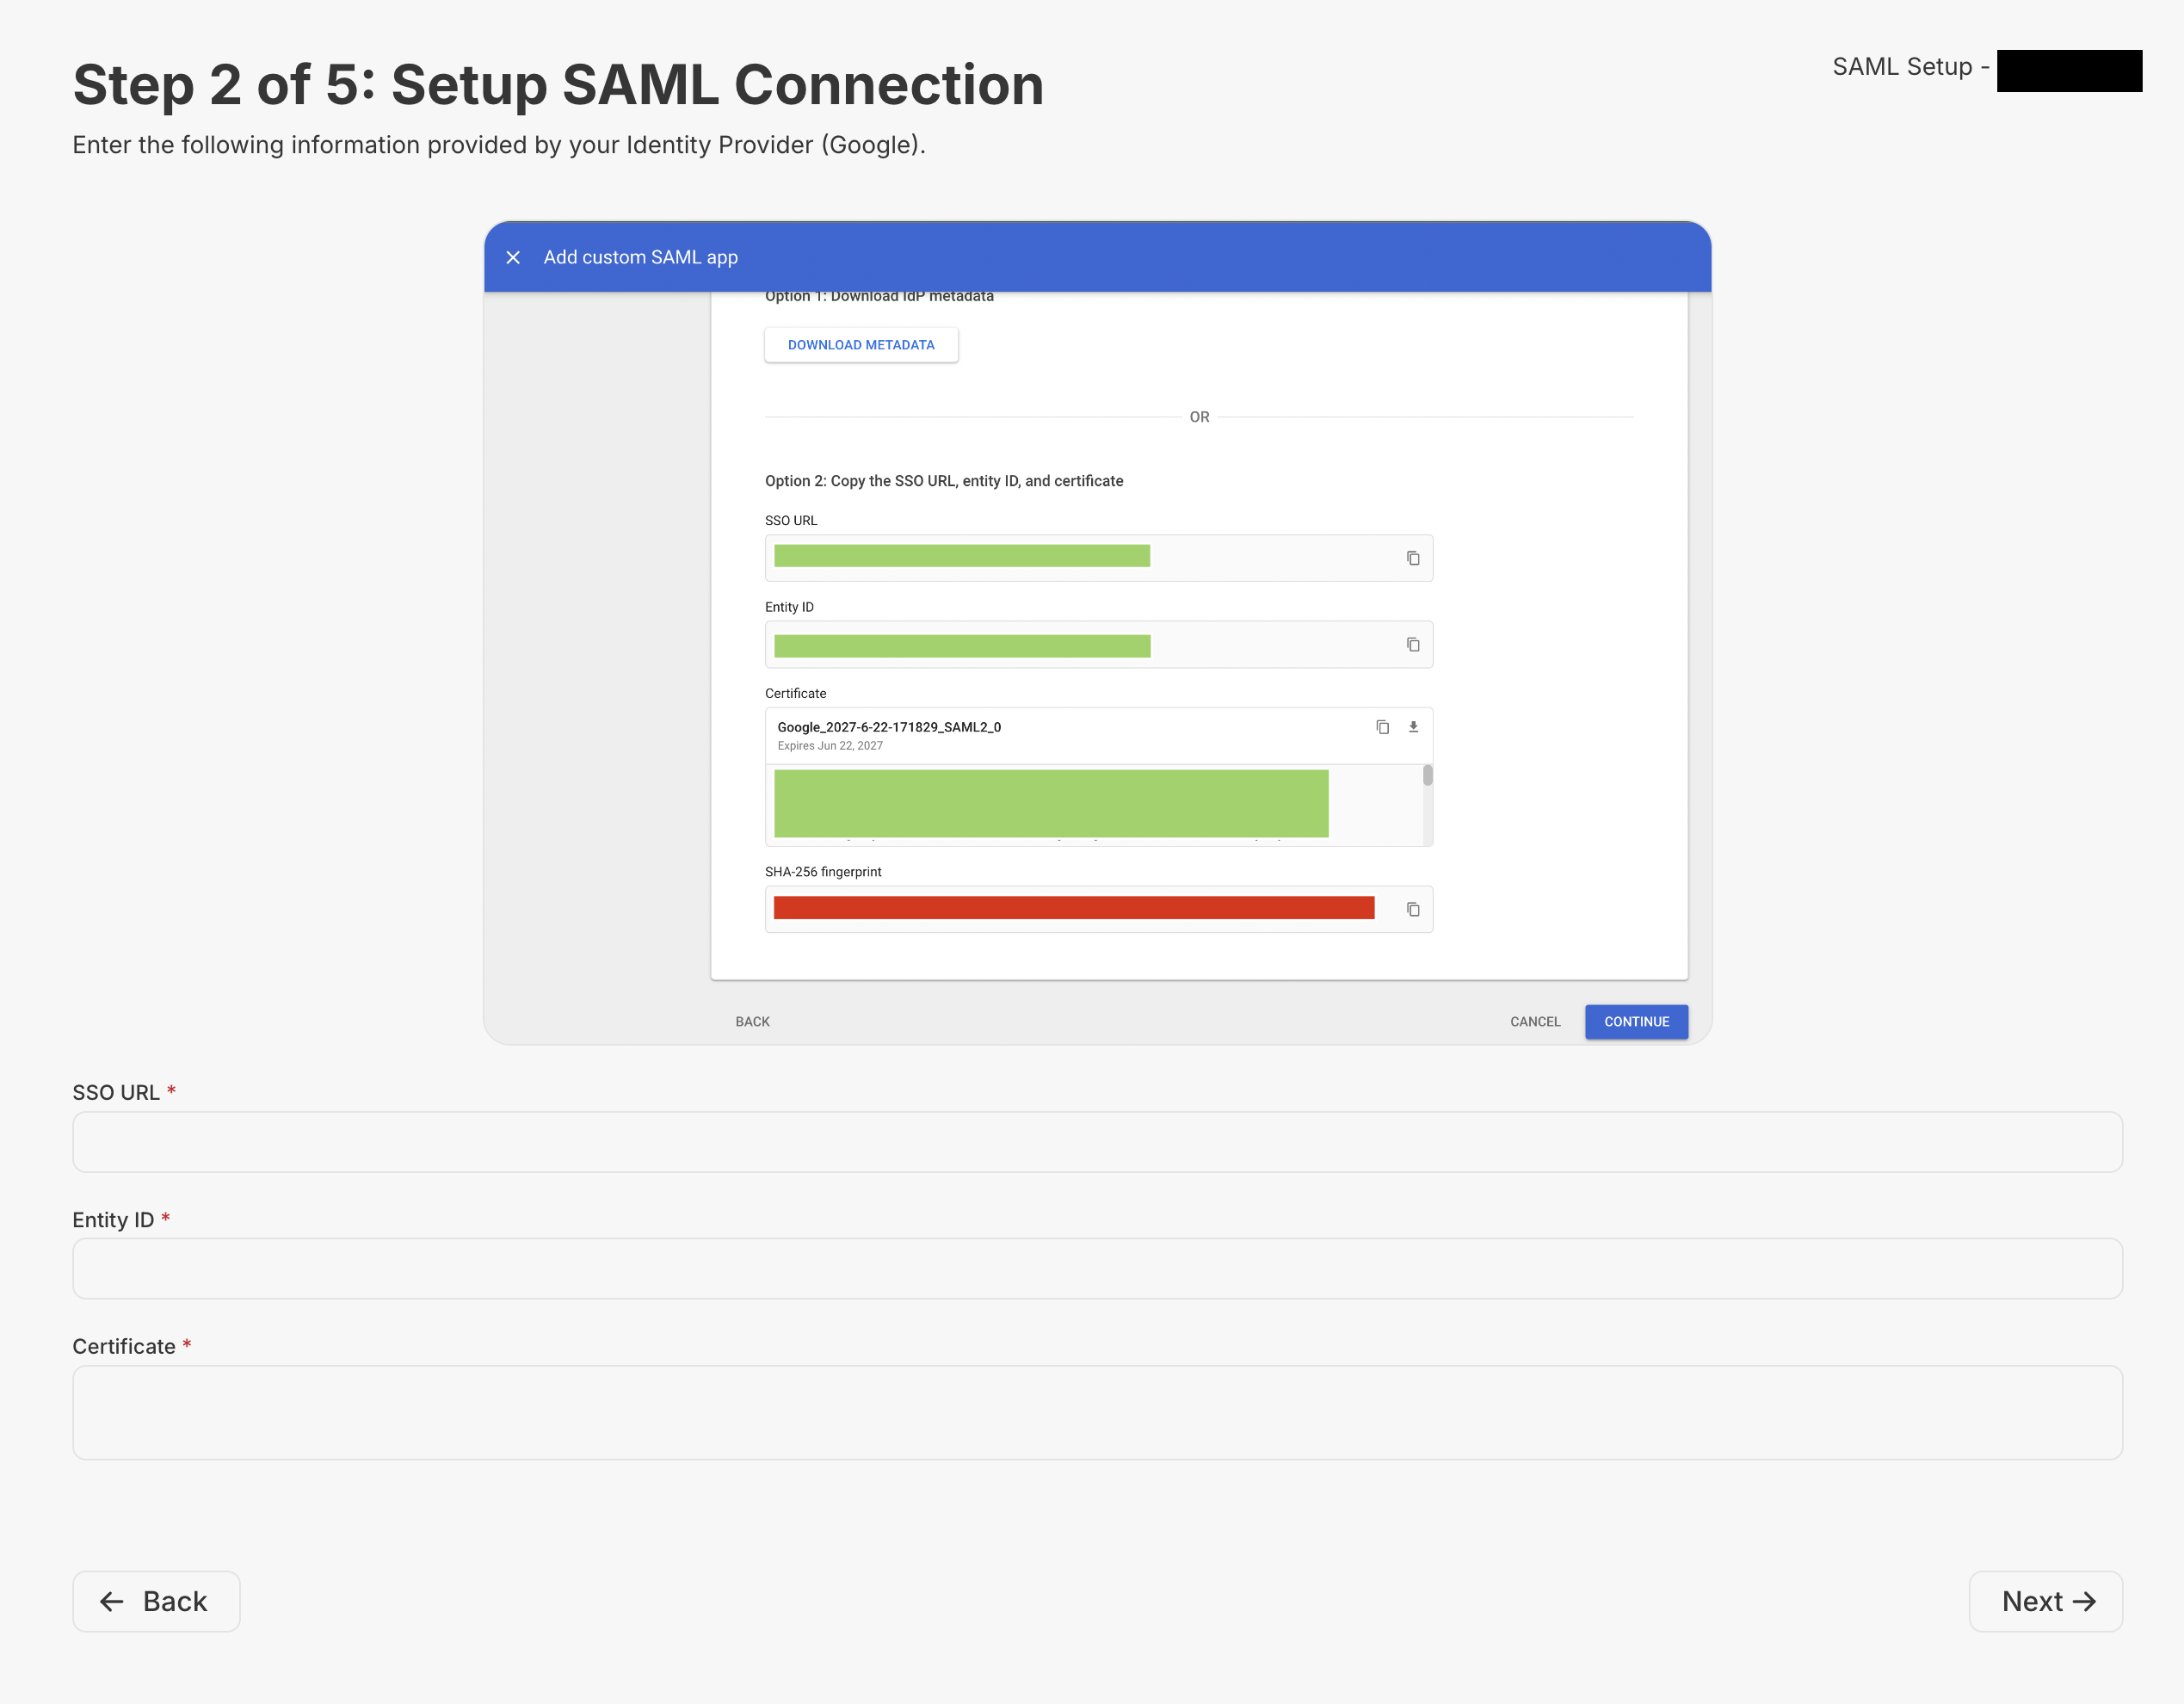
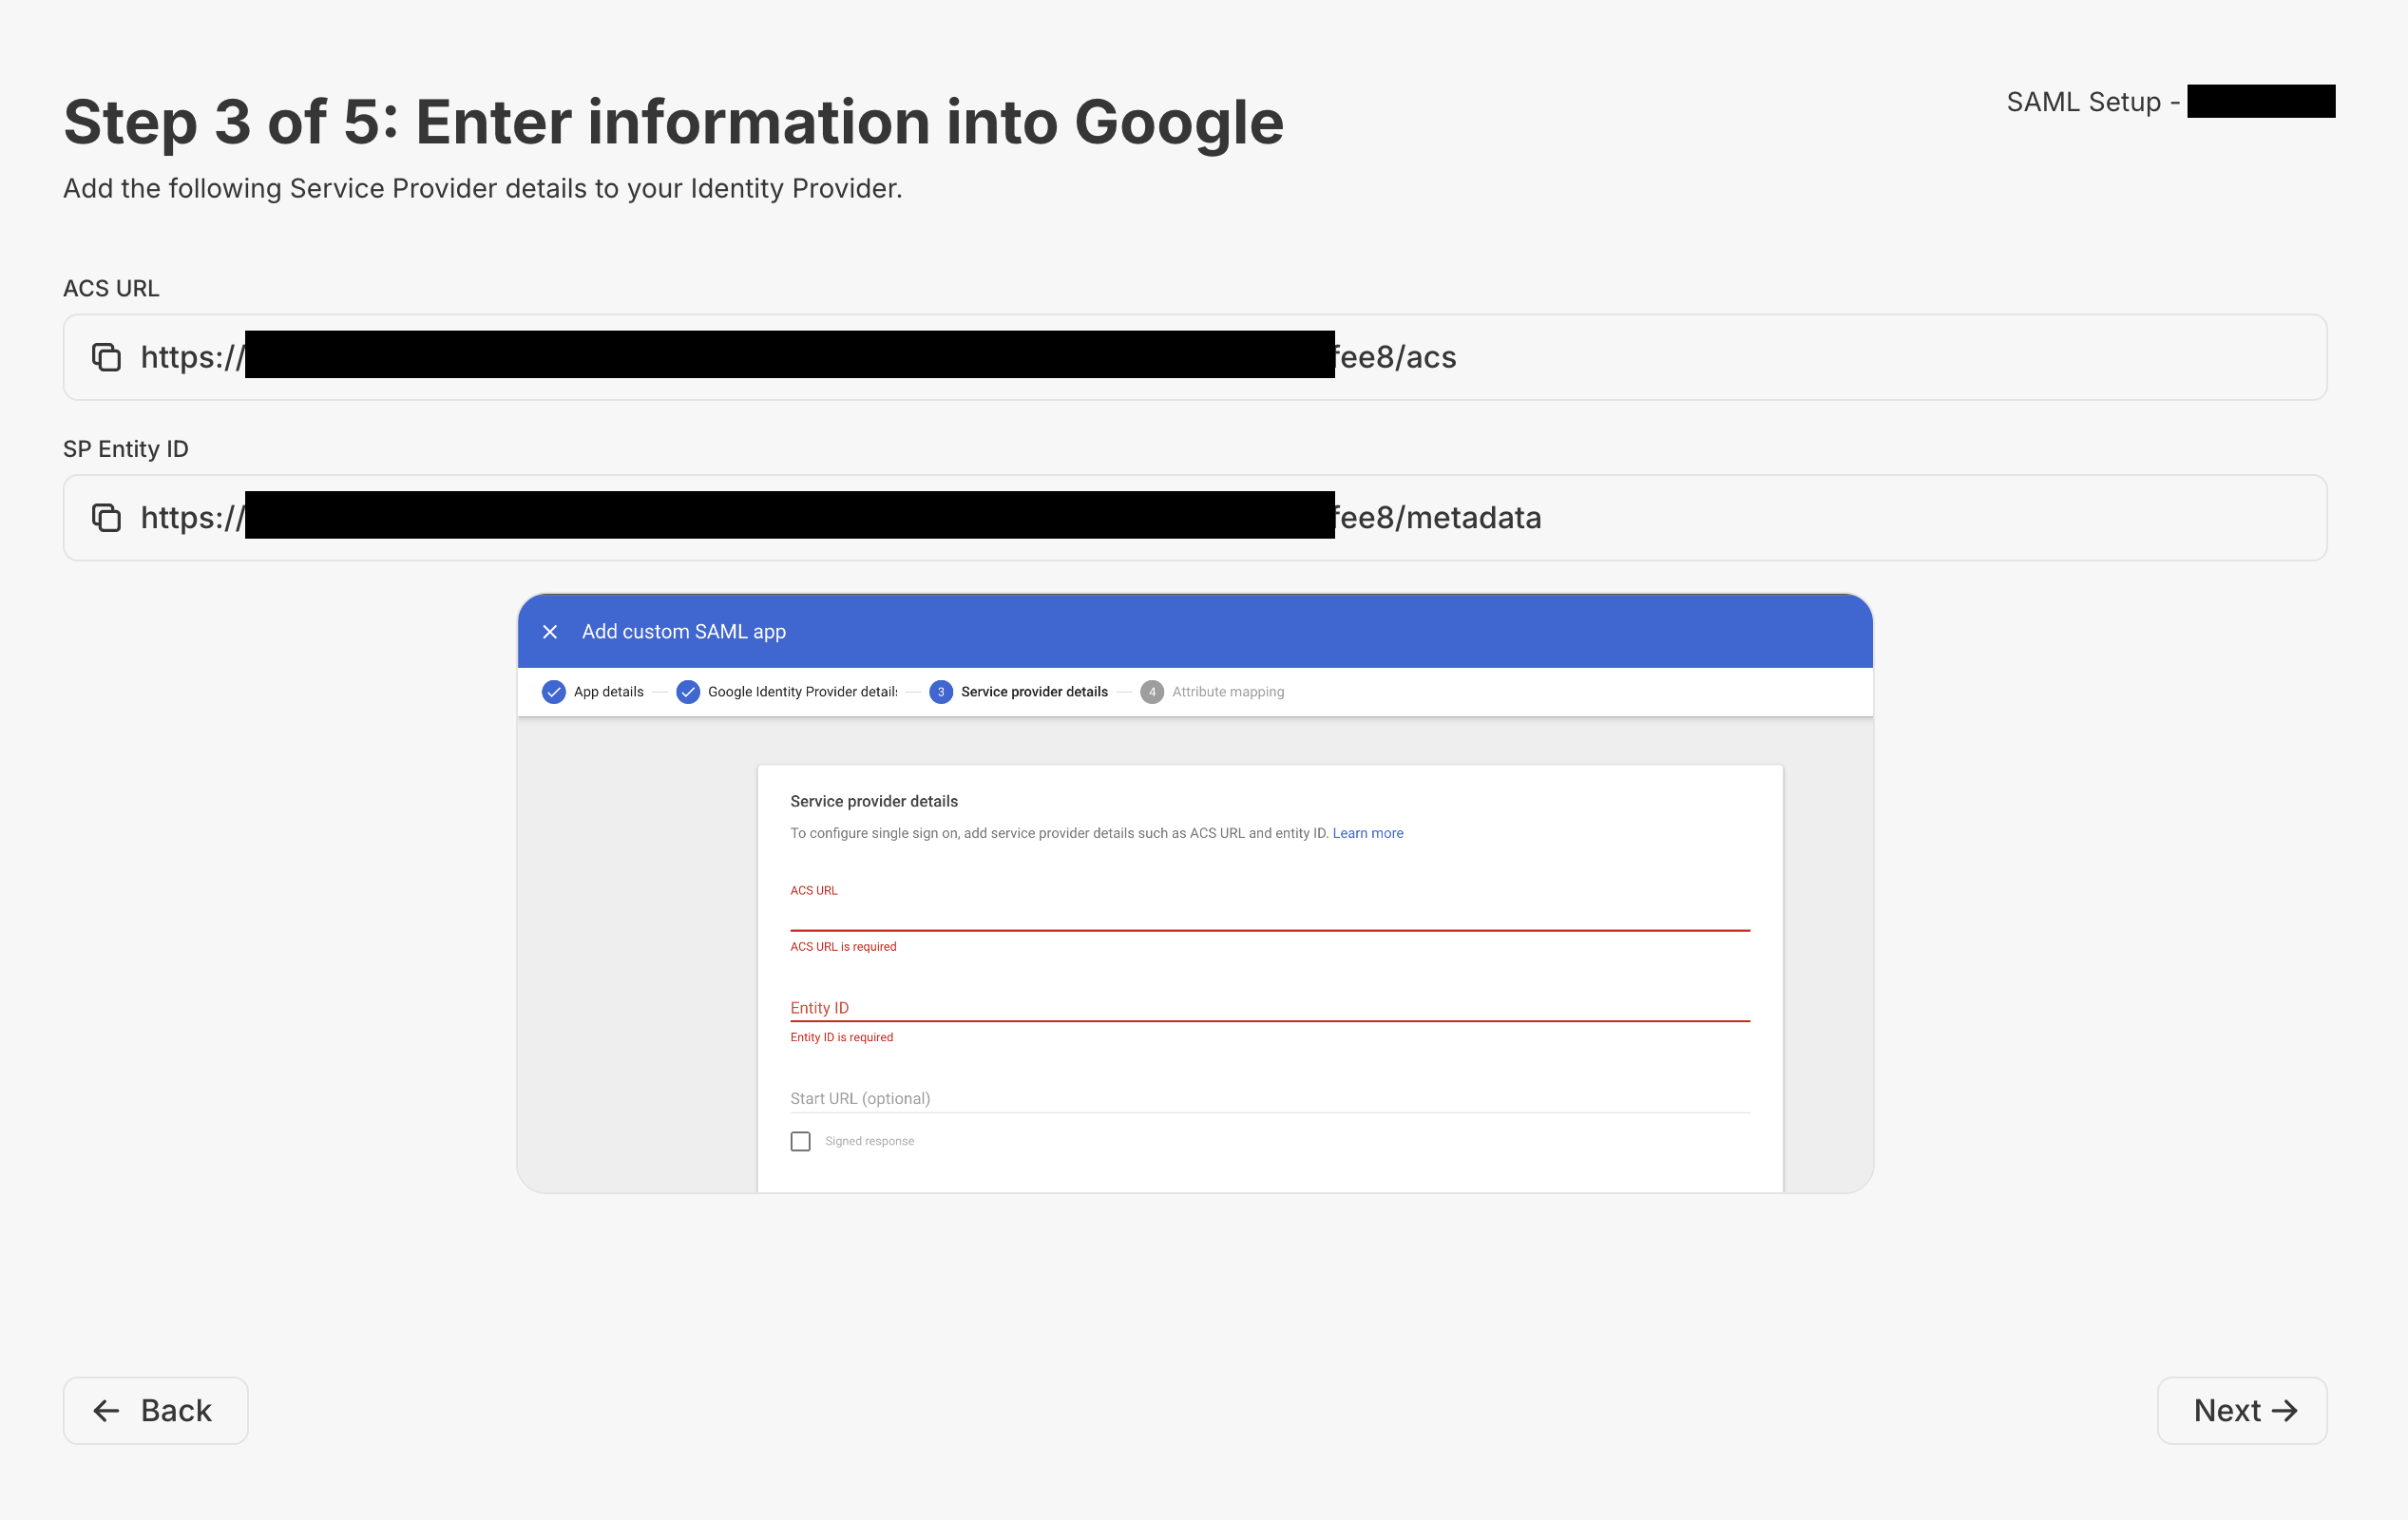
Step 3
Now it’s time to copy some info from Metriport into your SAML server. There should be a fairly equivalent field/property on your SAML server matching the fieldsACS URL and SP Entity ID.
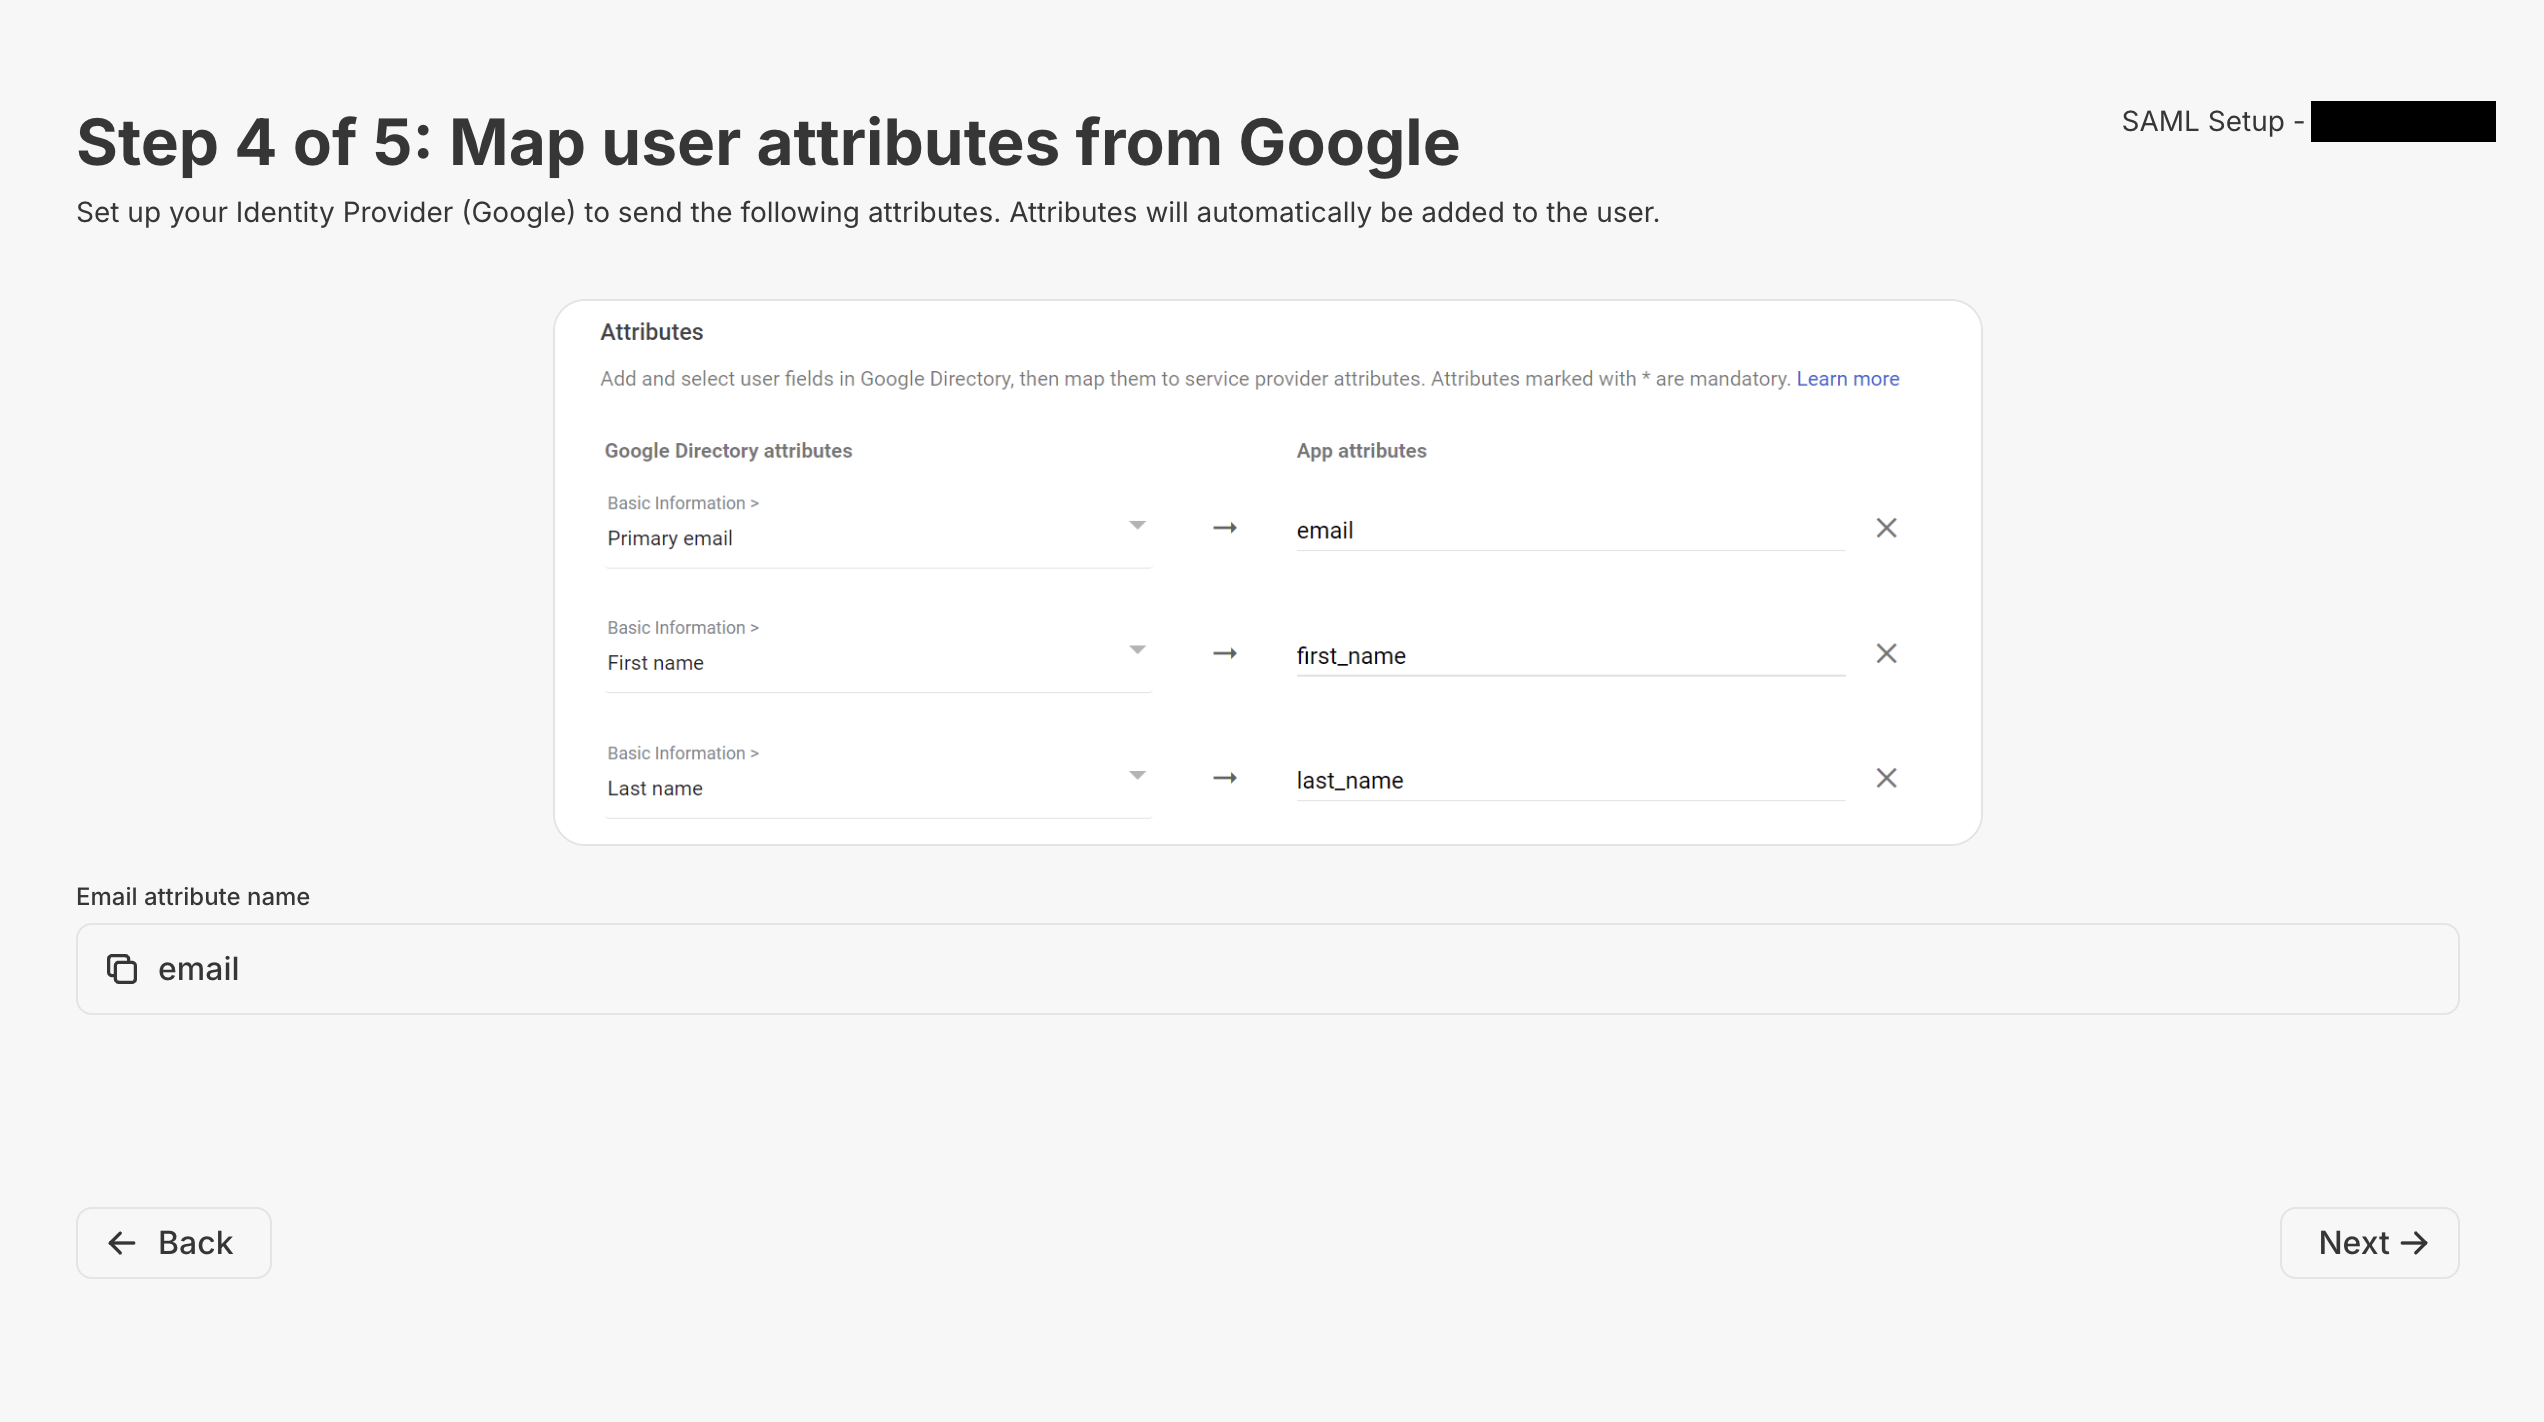
Step 4
Now, Metriport will display a recommendation for mapping user attributes. It only includesemail on the list of fields to copy, but you can safely use the first_name and last_name to map the respective fields to Metriport.
There are no other fields to be mapped beyond those (groups will be done on the next step).
Step 5
Here you can map your groups to Metriport groups - for more info about our groups, see Groups.
Last Steps
Once the setup is done, Metriport will display a window asking you to validate the SSO setup. It might take a few minutes after your SAML provider is setup for it to be fully available. You shouldTest connection before “Finish and go live”.
Test connection (and your SAML provider is set and enabled), you should see a page like this:
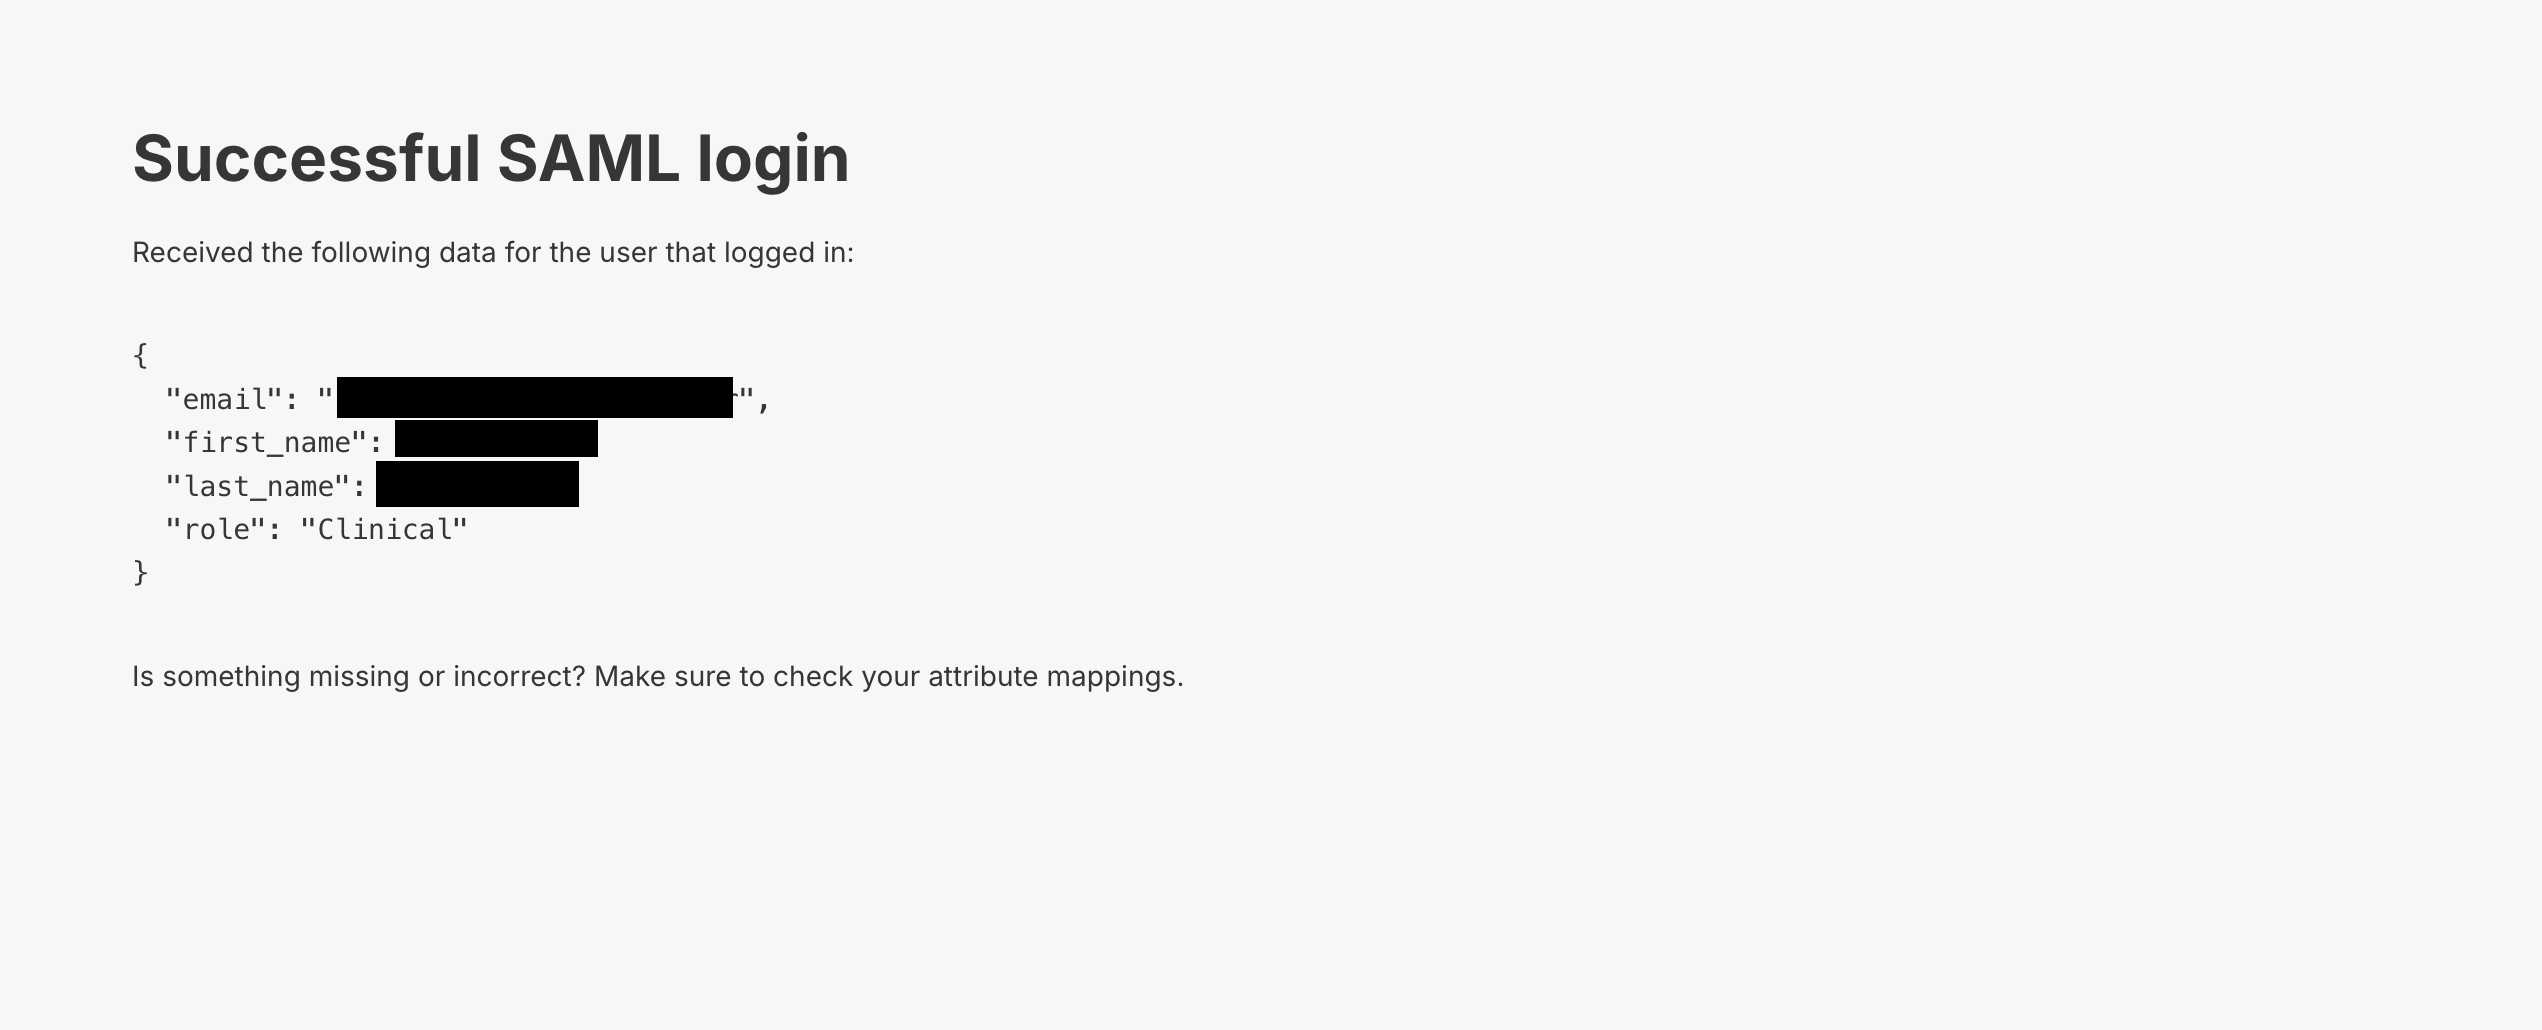
Test connection you should get a page with a link to the SAML/SSO login.
This URL can be used by your users to create an internal URL to login to Metriport bypassing the login page.
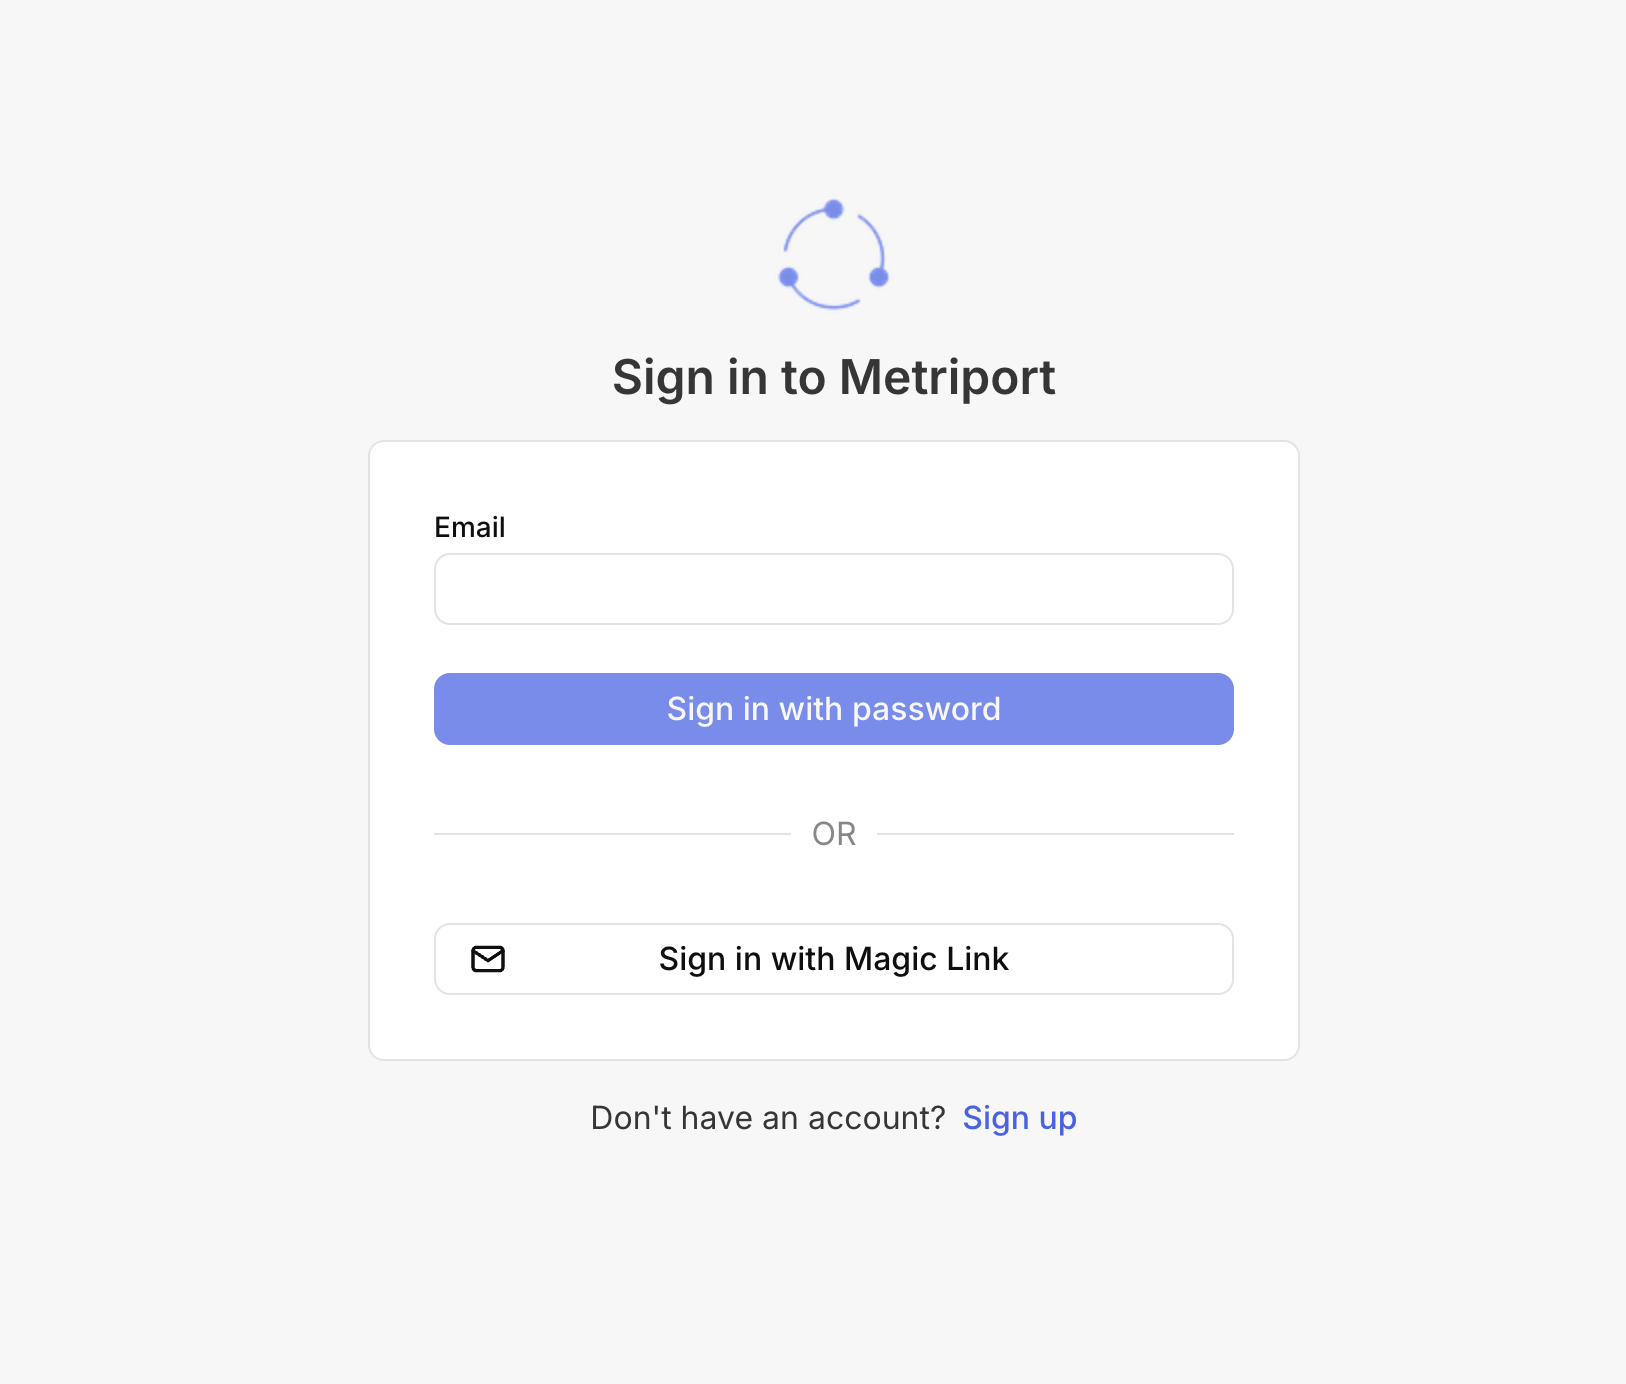
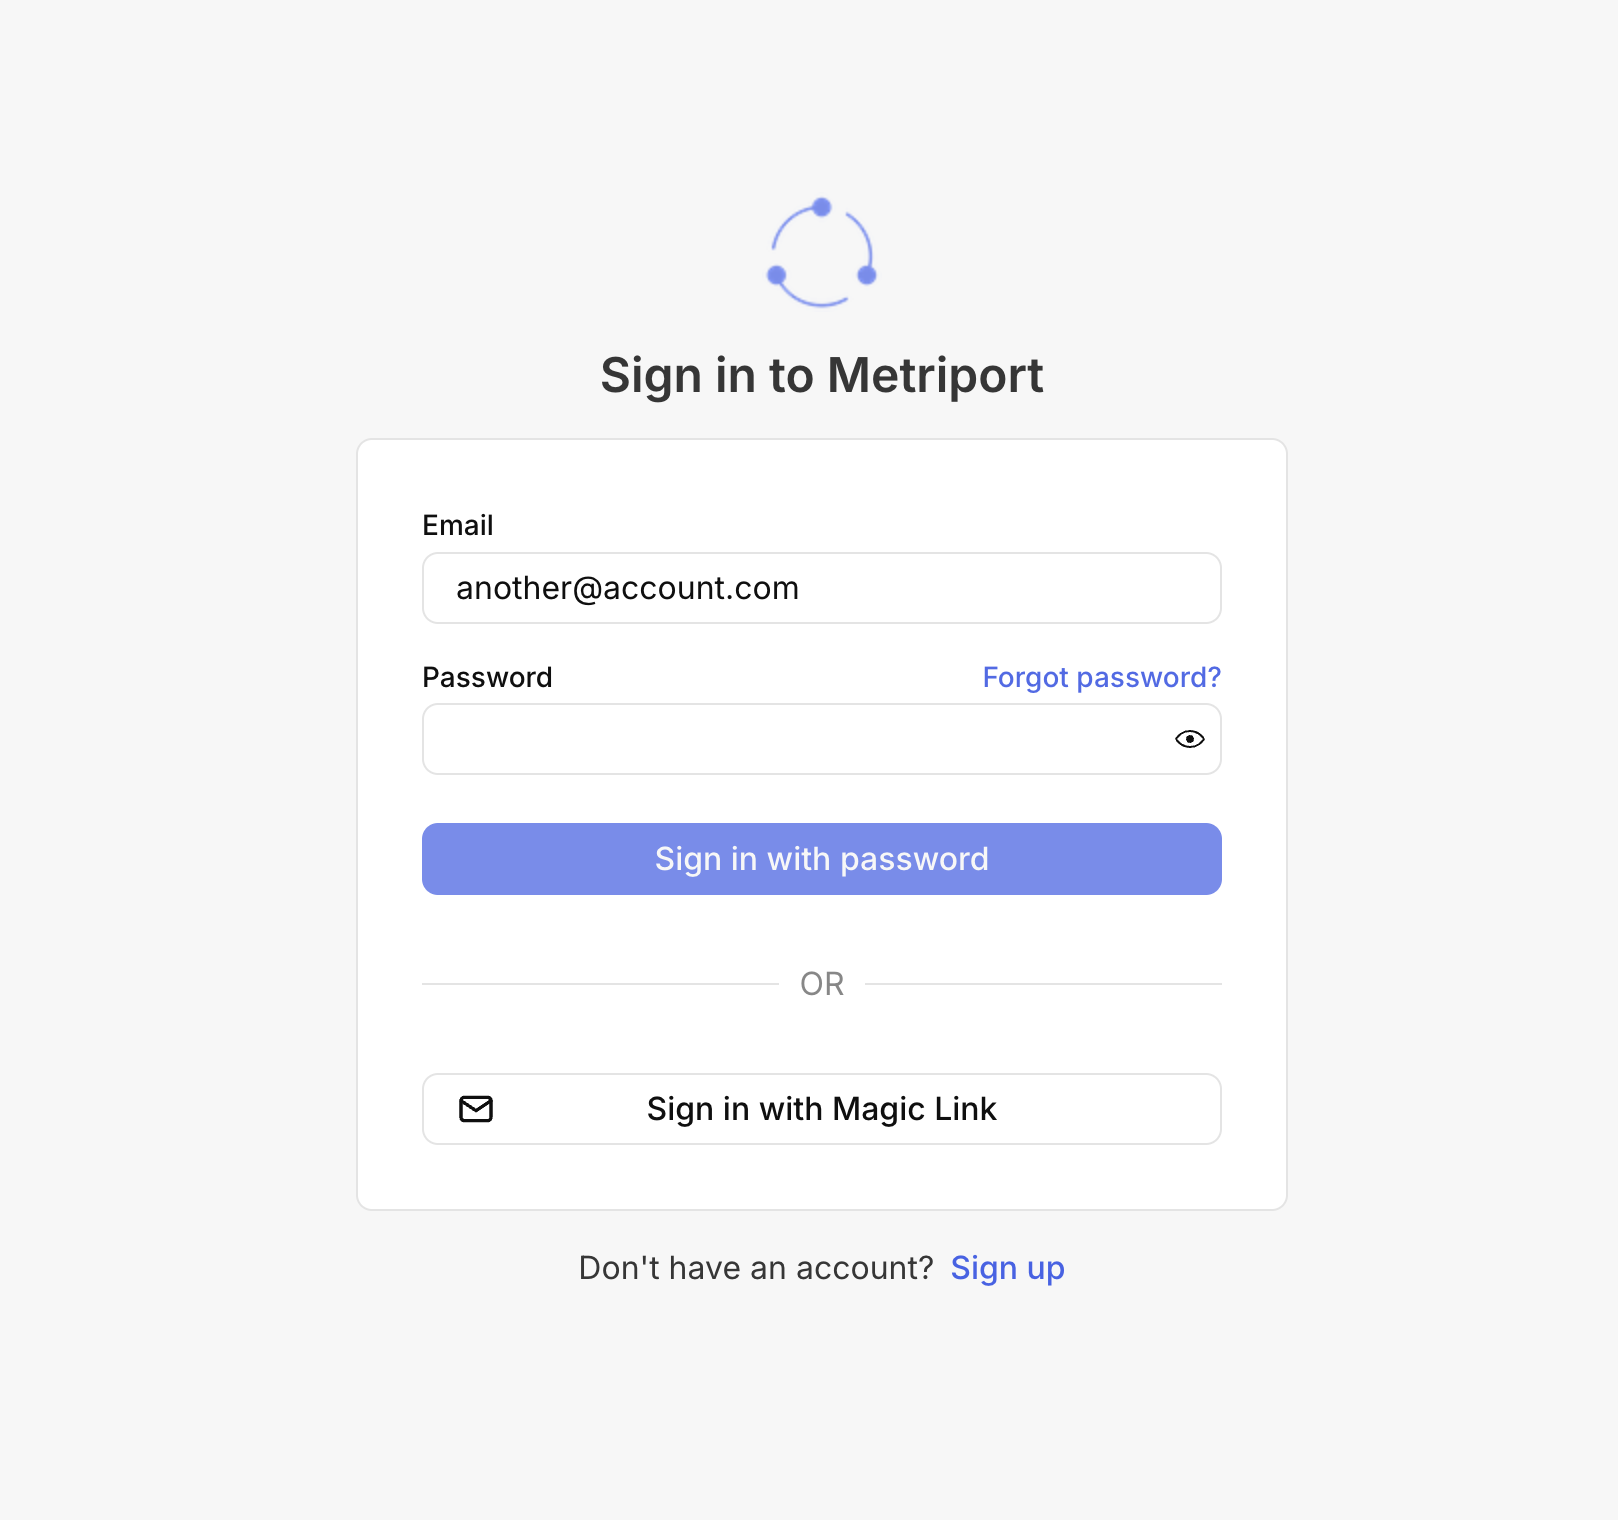
password field will be displayed: